
Here's my fourth clay craft. Want some fruits? hehe My personal fab would be the bananas.
Oh the basket is made out of clay too. This time no need for Acrylic paint and needles.
Have fun!


 You should have something like this. Glue each side.


 yeah!
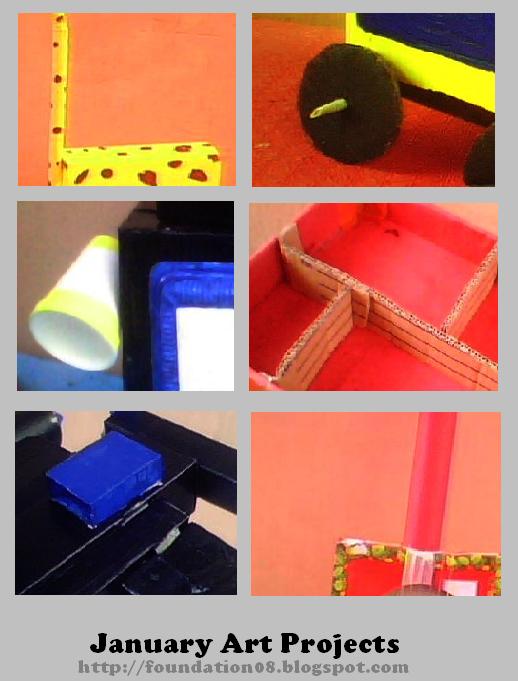
yeah! We are so messy every time that we're making projects so i realized to make this simple Craft box to organize our things in one place.
 Measures 2 inches from the bottom.


 Layout popsicle sticks horizontally like this (forming a platform). This will serve as our Floor.


 Should form something like this.

 Make the roof out of Popsicle sticks as well.
 Now if you have some miniature toys like this. You can just arrange them inside based on your own preferences.


