How to make Drafting Table For Kids (part 2)

Cut a piece of plywood and pattern it to the side.

Nailed it on both sides.
Prepare two hinges
Screw it in the inner portion of the table to make it less visible outside
Tasah! Were Almost done
Make the surface smooth using sand paper.
Also, prepare a two piece of wood (about 1 inch wide) and nailed in on both ends.

Here's now the finish product.


And for the finishing touches, make use of Varnish.
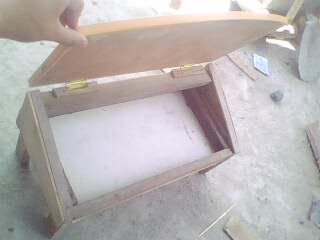
Tadah. Were done with our drafting table.


Here's the outer part.
Here's the inner case.

Making a Small Drafting Table for Kids (Part 1)


Before we start with this project, we have to sketch first our plan.


I have here a piece of wood from our old Computer desk.

Scrap woods (excess from the recently done house renovation)

Now, let's begin. Since we have the materials already and we're done planning the drafting table, we have to cut now the wood in our desired size.


First, we have to cut down the legs of our table. Cut two pieces of wood and make a slant cut on one end of each wood (more or less 30 degree)

Cut again 2 pieces of wood with a height smaller than the first pair.

Just make sure you cut it smoothly and angled it correctly.

Using a long piece of wood. (about 24 -26 inches). Connect the two legs using nails of course.

Do the same thing to the other (smaller) pair
Here's how it looks like
Now connect the two pairs of legs by placing a wood on each side.


Now cut a small piece of plywood and nail it at the bottom.
Here's our top view.


Also place a small wood at the back of the longer legs to serve as "brace"

Will post the continuation in my next entry

How to Make A Shoulder Bag From An Old Pants?

This is the first time that my Sister feature her art project for this site. She will be making a shoulder bag made out of an old pants.

What we need is an old pants, scissors, thread and needles.

Cut the lowest portion of the pants
Flip it and sew it inside so that threads will not be visible outside.

leave the other end open, It will serve as the bag mouth or opening.
cut one of the pants' pocket. Do it carefully and make sure not to damage any of its part.
Sew the pocket on the middle of your bag.


Tadah, you can now use it as a hand bag.
Now, get any lace or even straps from an old bag.
sew the strap on both ends. This will serve as the handle.


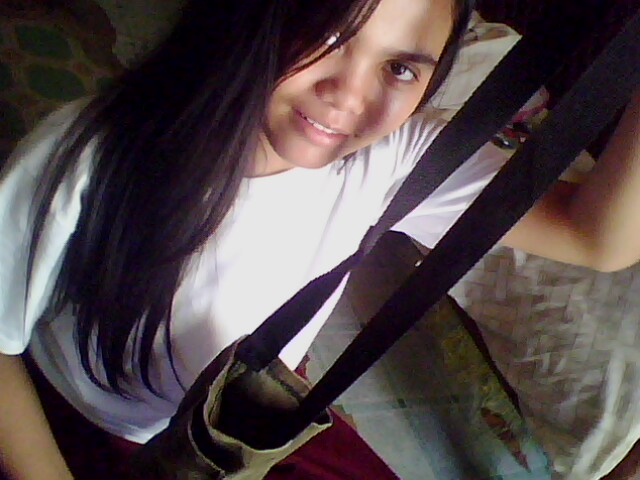
Tadah, here's our finish product.
Thanks Mira for sharing this project to us.

How to Make a replica of Avatar's Wind Glider

The film, Avatar: the Last Air Bender would be boring and confusing if the viewer don't have any idea about the anime version of it. And for an Anime fan like us, it is really a big hit and it is nice to see how the cartoon figures are being translated into a live action film.
I am a big Avatar fan so as my brother that is why we made this especial entry. Today we will be making a replica of "Aang's Glider"

We need Red and skyblue colored Papers, 2 sticks (about one meter long),glue and tape

Draw a big semi-circle on the red cartolina and a small one inside too.
Cut the outlines
Put the two sticks together by nailing them. (make it like a "T" form)
Glue the red Cartolina at the back and make a small version of it at the bottom part of the glider
Tadah, we now have a replica of Aang's Wind glider


Make a small arrow shapes using the sky blue colored paper and tape it on the forehead and in both hands too
And there you have it, the replica of the last air bender ^_^


Picasion.Com


best blogger tips